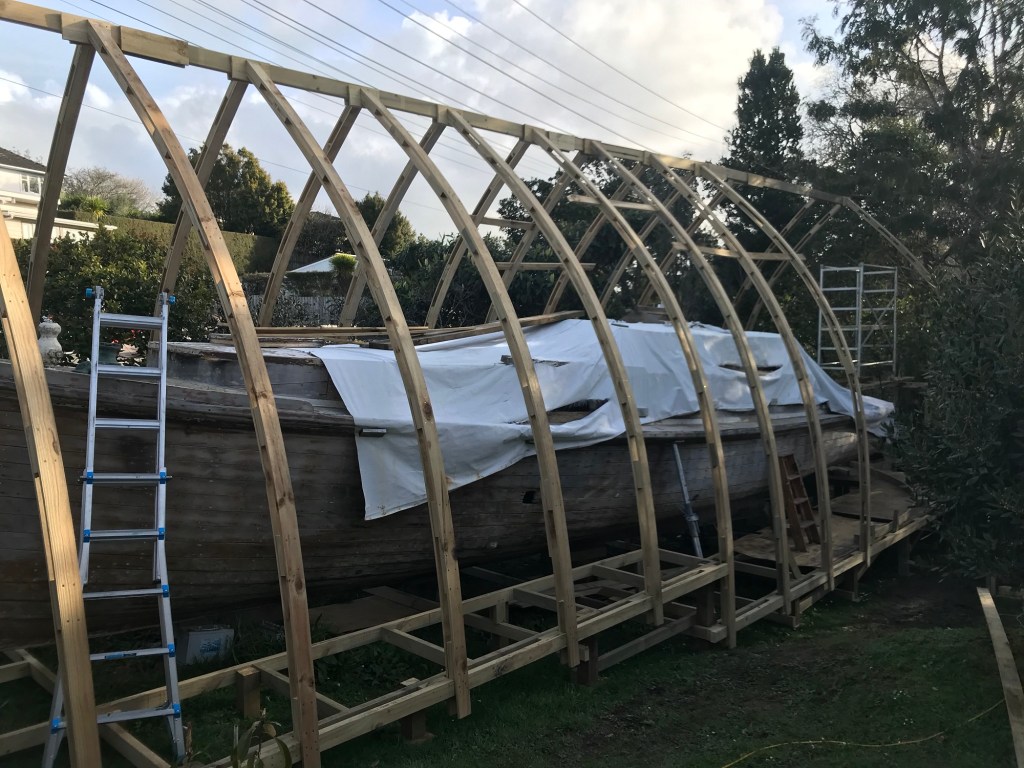
The first port of call is to build a new boat shed. I have decided to follow the last design and use arches. It will be slightly different as I will add a workshop space to the side as a sort of a lean-too. Here is how it was built (note -the majority of this structure was built single handed, which made it at time difficult but not impossible);

“A How to Guide”
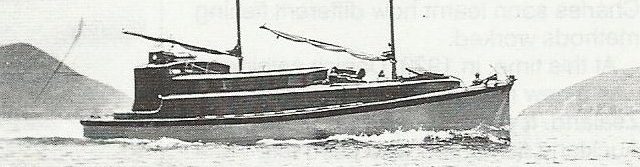
Setout – ANZAC is 12m long plus a duck board so say 13m overall if I allow 1m at each end to work and walk around, then 15m should be about right. The width I settled on was 4m, as this was easy to remember and measure from the center of the keel. the lean-too workshop I will be another 5m x 2m, but I will build that after I have the boatshed built.
I have intended to build the entire structure with no permanent fixings (apart from nails) so it will not have concreted posts and most members will have screw fixings. As it is not a permanent structure just a boat cover (Nod, wink).
Setout was simply marking out the center of the boat and projecting this out aft and stern measuring the 1m walking and working space (mentioned above) then marking 2m either side of those points to give me approximate corners of the shed.
Its important to start with the base before building any arches – don’t even worry about the arches until you have the sub base and walkway framing completed – we will come to the reason why later.
Using 100×50 framing I framed up what would be the basic shape. The squaring up and leveling will happen as I add the posts and bracing, for now it is just to get the shape and size about right, this ends the set out phase.
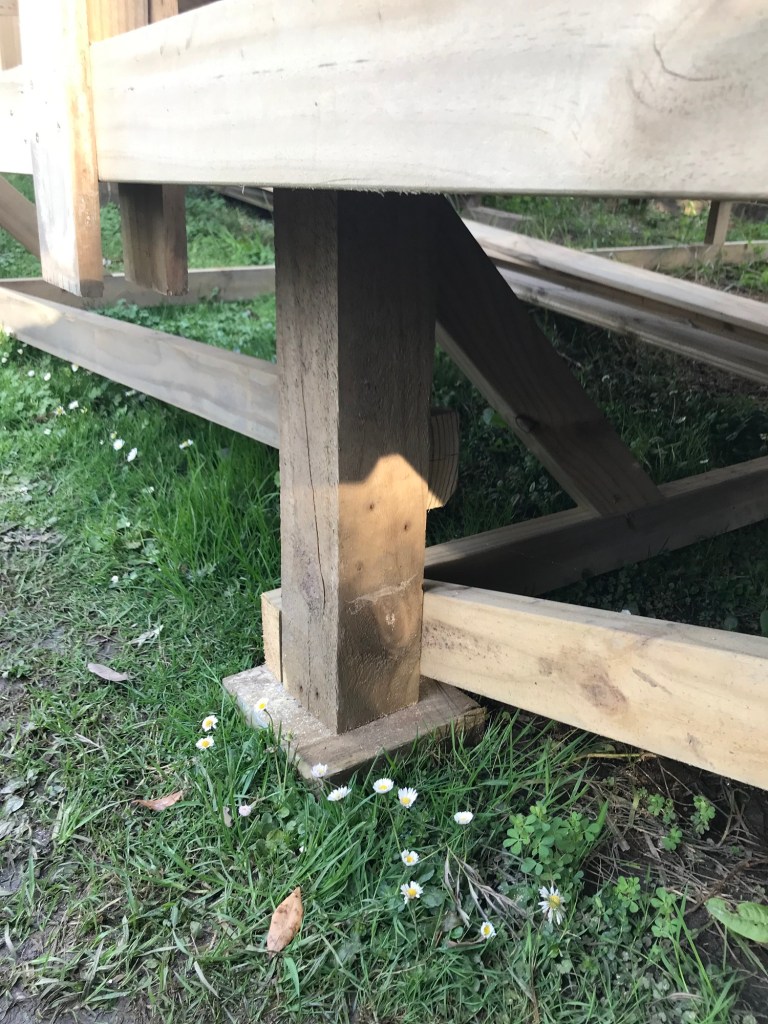
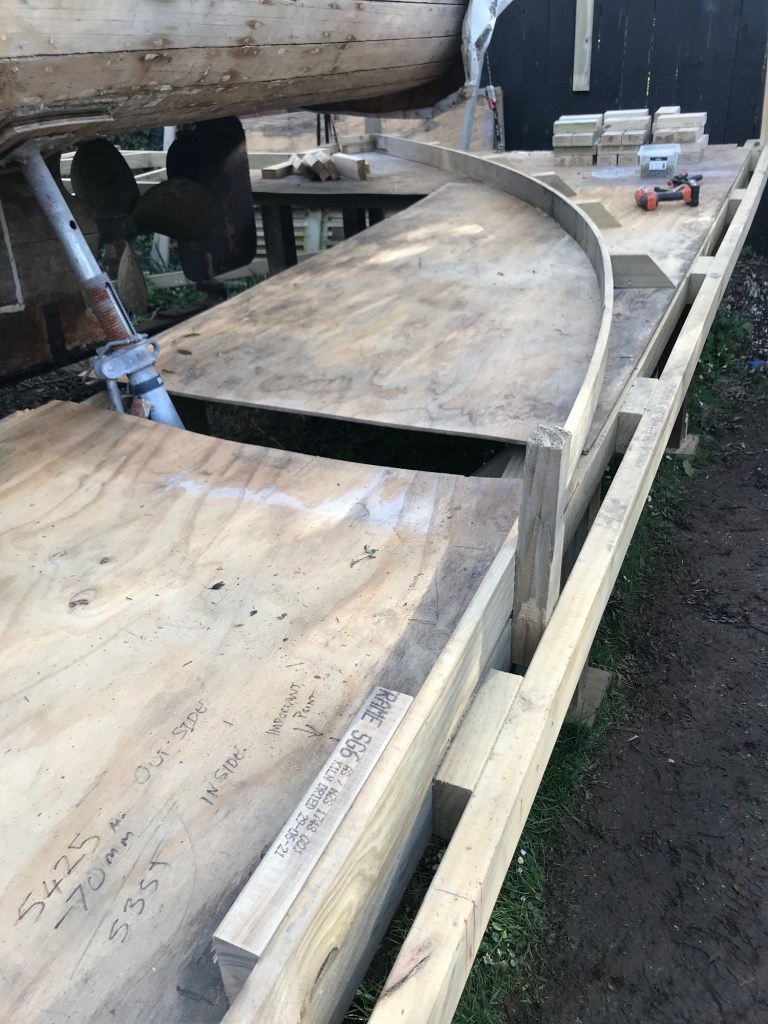
Base and Sub Base Framing – Now I installed the posts, these were a mix of posts I had kept from my previous shed and other posts I had lying around – but using 100×100 or 125 x125 posts worked fine. I rebated a section at the top of each post to take the 100×50 perimeter frame and fixed a square timber base plate made from 250×50 framing (so 250×250 square) to prevent the post sinking into the ground.
Starting form the stern I raised the perimeter frame to the level that I wanted for the working walkway by cutting the posts to the desired height, added in the cross framing walkway frame and bracing – all out of 100×50 framing.
Important – to stop the base of the structure from wanting to explode outwards it is important to fix the posts on opposite sides together i.e. each post is fixed via a 100×50 runner at the base of each post from the port side to the starboard side.

As my shed is on a slope, so I have added a step in the structure and the walk way. I intend to level ANZAC out once I have the shed complete. Ideally the shed would have been on flat ground and the vessel would already be level but I have to work with the sloping ground.
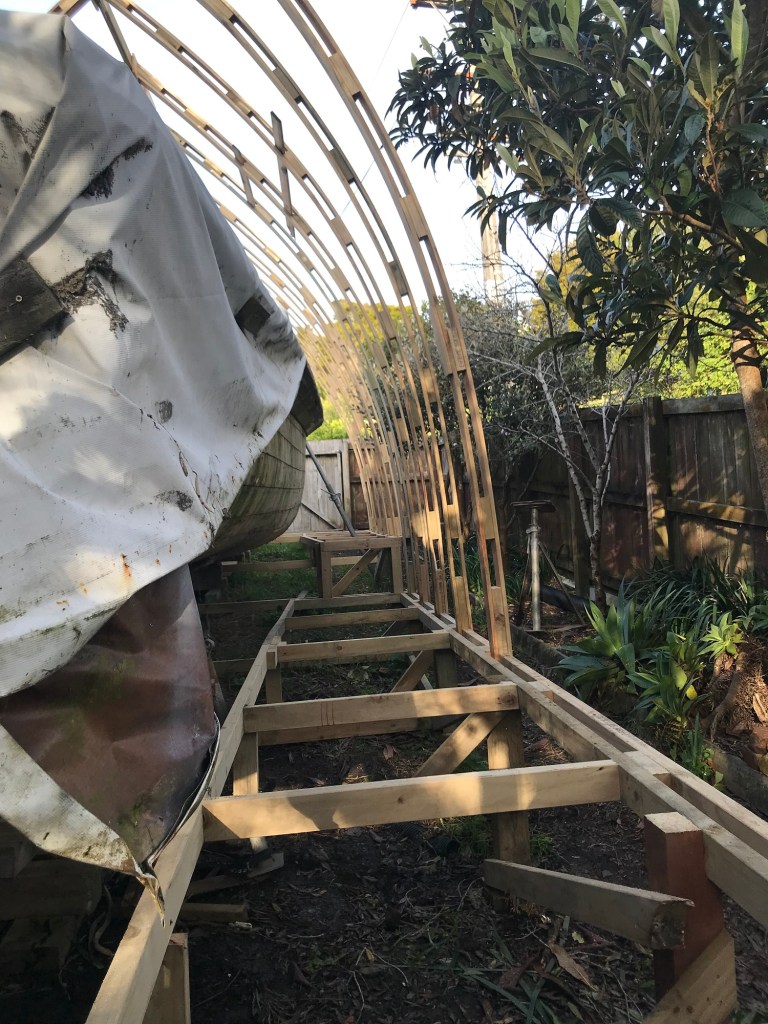
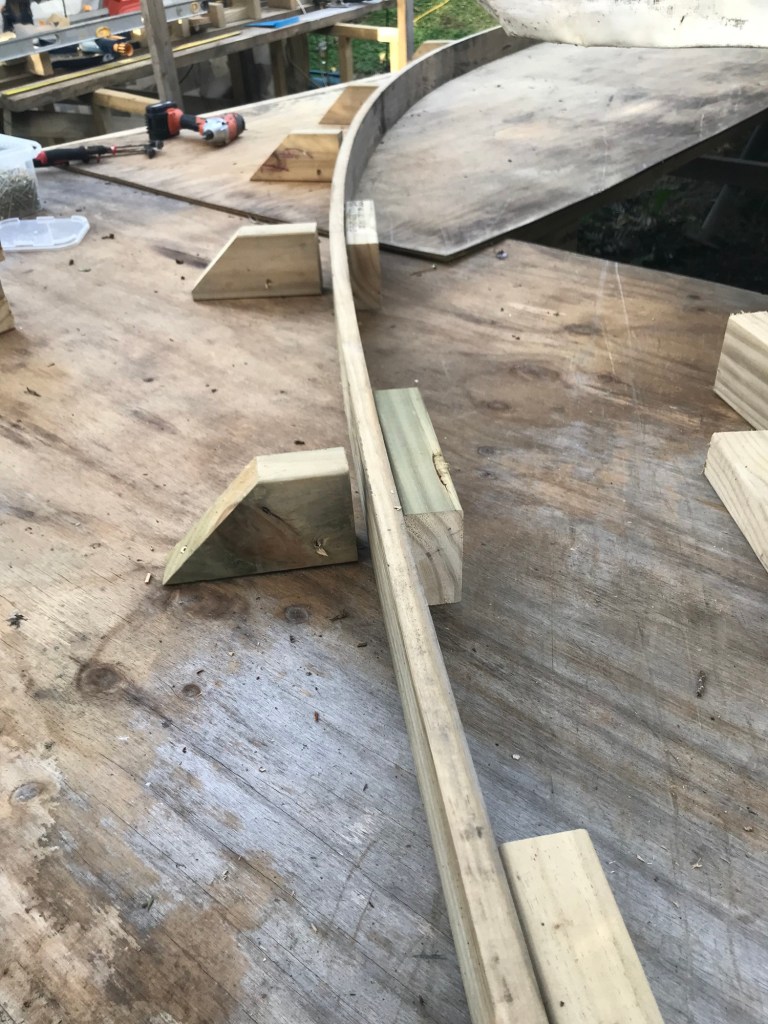
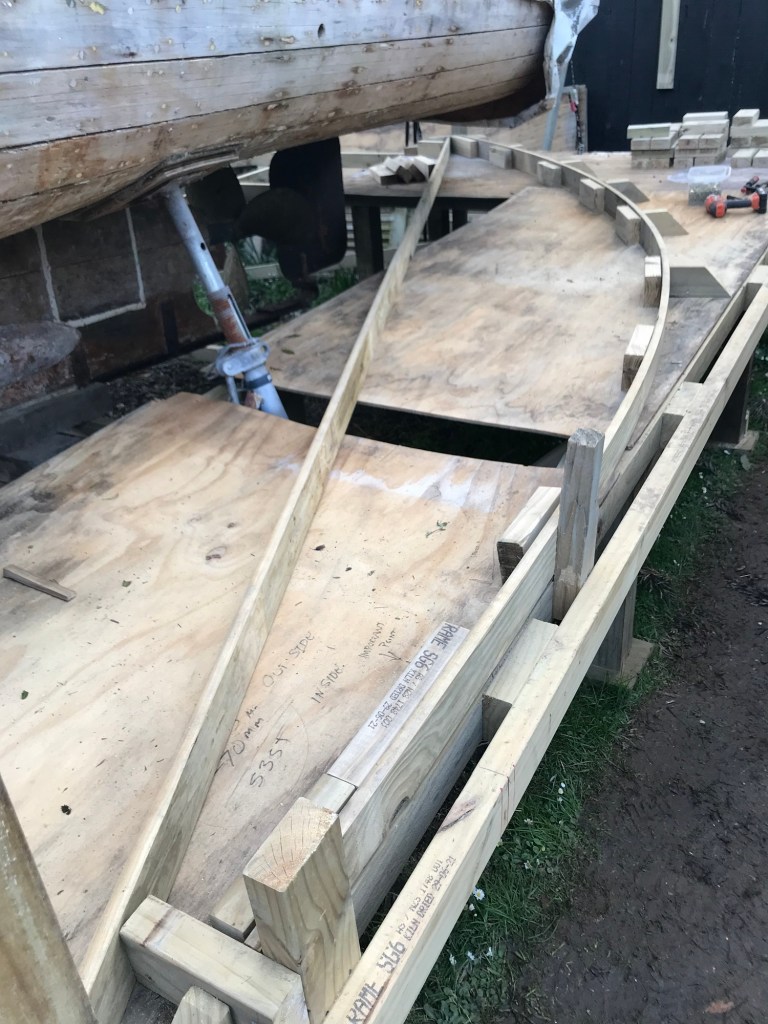
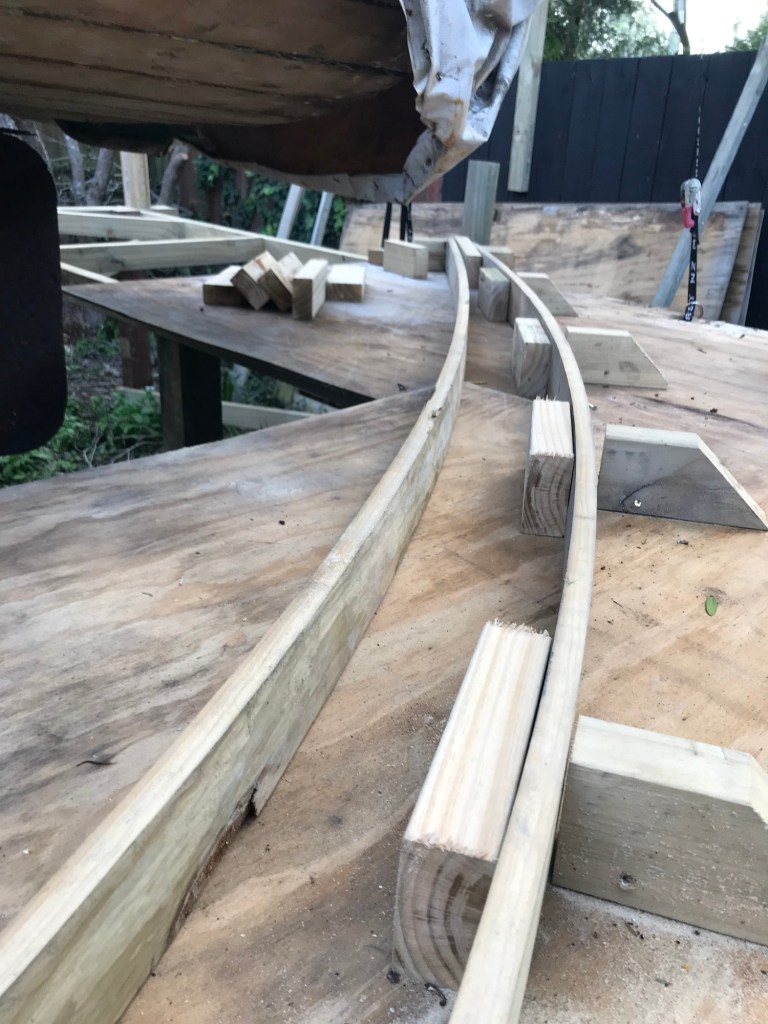
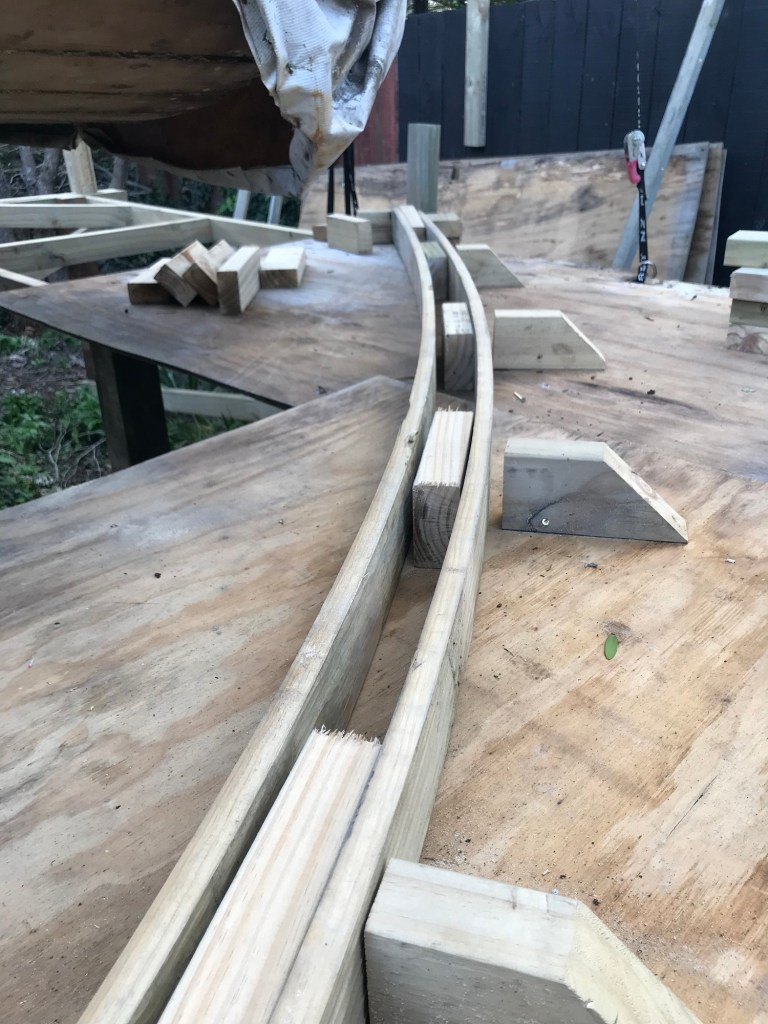
Arches Rail – Once the base and sub base framing was installed, squared etc. I added a 100×50 rail with spacers (100×50) to the two 15m lengths – (first the spacers then the rail – these will take the load of the arches. Note – I purposefully made the length of the shed a further 300mm longer at each end so the end arches would form a overhang to the end walls. The rail is the same length.
Important – the spacers for the rail have been fixed to locate the position of each arch, in my case ever 1m – making it easier to install – the spacers are also the same thickness as the spacers we will use for the arches.

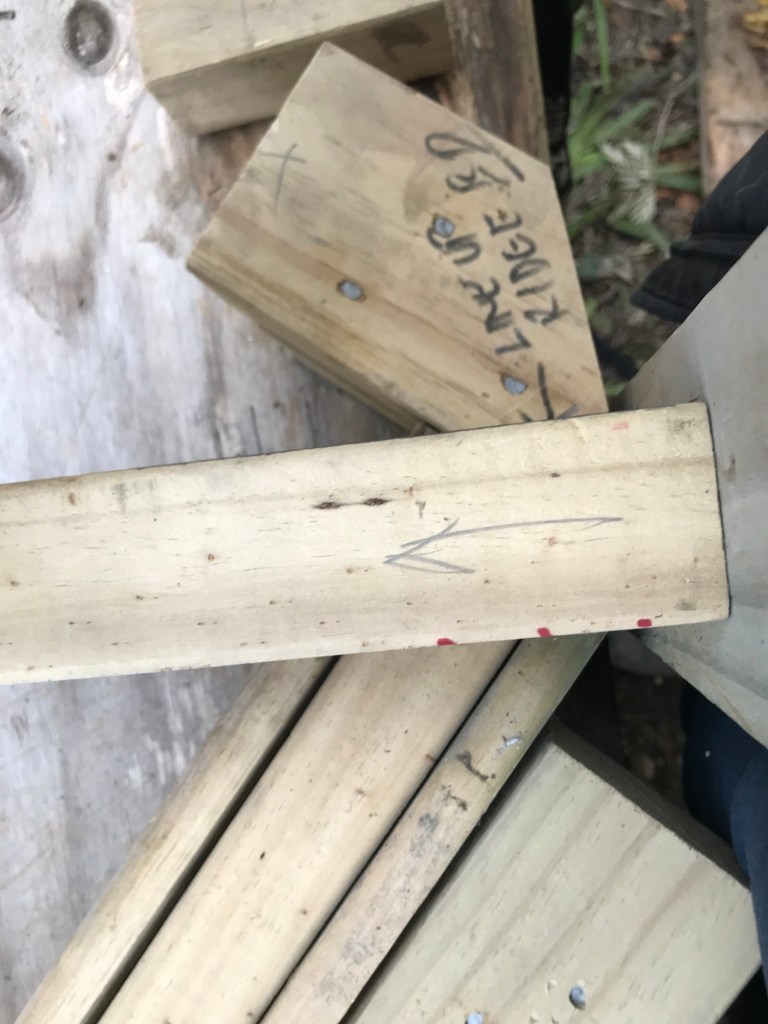
Arches – Now we start on the arches. First step was to set out the template. I had three sheets of plywood which I temporarily fixed to half of one end, and down 5m of one part of the side (refer picture) this is to provide a flat surface to mark out the arch.
I wanted more of the bend in the arch to be at the top so I installed another vertical post about 1m from the base this will keep the lower 1m straight (see above). I then install stop ends to the base and the top ends of the arch.


Install a vertical post at the center line of the vessel – this forms the top of the arch and stop ends.
I have decided to use slightly small arches than the first shed but have them a closer centers. The arches are made from 100×25 pine with 100×50 packers and will be spaced at 1m centers. They are approximately 5.4m long (standard supplied length).
I then placed a length (5.4m long) 100×25 in between the 2 stop ends and let it curve to its own arch – then I added support nogs a 5 or 6 locations at where the timber found its natural arch – these will be where I add the nogs to the arch. All the nogs in the arch are 100×50 framing the same size as the perimeter rail – the top and bottom nogs are both 300mm long while the oyer 7 nogs I have used are 200mm long.
Note – it is important that all the nogs end up in the same position as each other – so I marked in perminant pen on the plywood where each nog is ment to go.
I am using gib screws to fix the framing together – I have found that there is no need for glues, boths etc. Just 2 clamps, a drill and a skill saw.

When building the archI install the outer layer (100×25) first. then place and screw fix teh nogs, then I present the inner arch – this will need to be cut shorter – in my case 70mm shorter. You will need to look out for knots in the wood as these are likely places for breakages – if you present the frame to the template slowly you will have only a few breakages – expect some is all I can say. I have managed to save some when there have been cracks – the cracks can be reinforced using screws and off cuts over the cracks.

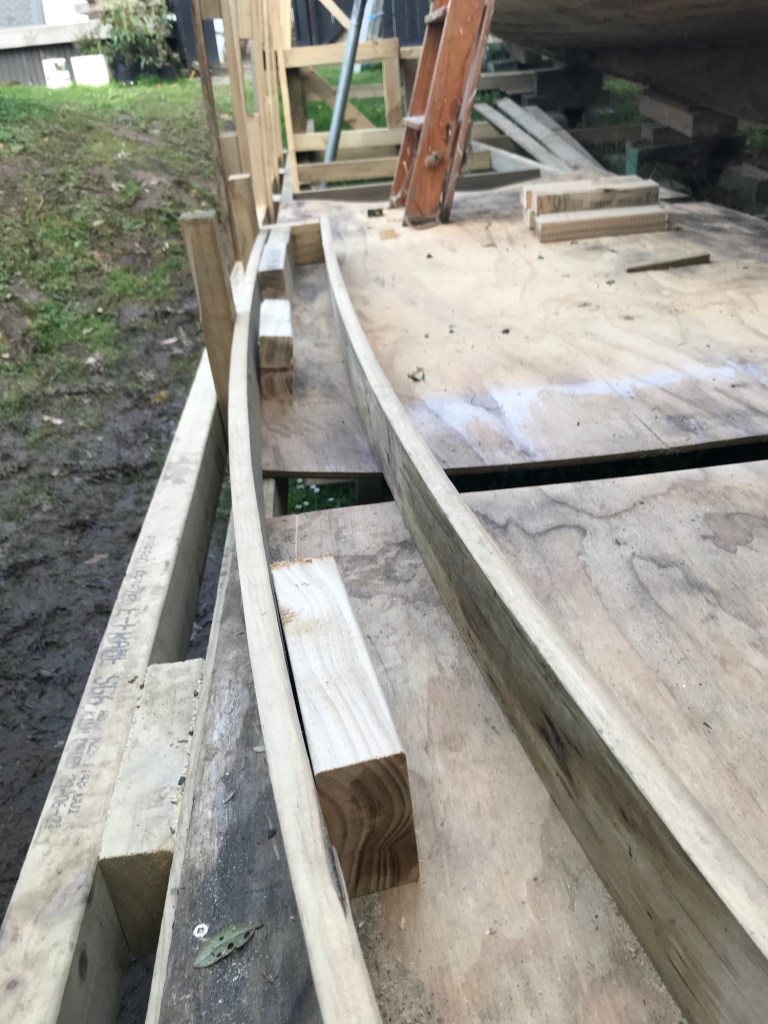

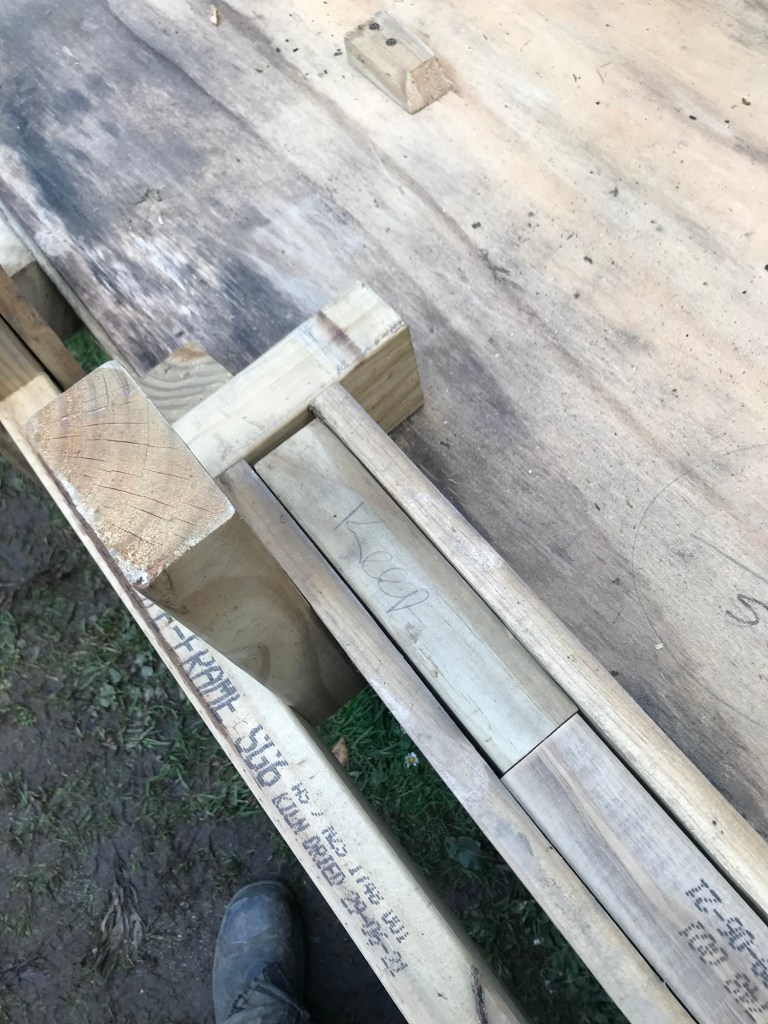
Once the inner arch is in it too is screwed off. At the base I use a “keeper” nog to ensure that the lowerst nog is always in the same position that way each arch will be the same height.
Important – The outer arch can be srewed off in any order, but it is important to screw off teh inner arch from the top first and work your way down to the base – this ensures that each arch is teh same height. Trust me it works! You will find the inner arch will get even shorter or tighter – this will help the arch keep is shape and for all the arches you make almost exactly the same each time.
Before we remove the arch from the template we need to mark the top of the arch at the correct angle so it can fit the “ridge” board.
At the top end of the arch we have a few small considerations to think about – even where I screw the inner arch we need to think about where the screws go as we will trim the top to take the ridge board – I marked out on the plywood below an area where not to install screws when fixing teh inner arch – it avoids you cutting them off or in half. The other cosideration is to get the correct angle (90 degrees) for the ridge board – I simply had a 100×50 off cut which I outlined on the post so to line it in the same place each time, then looking down as per above I marked the cut angle.

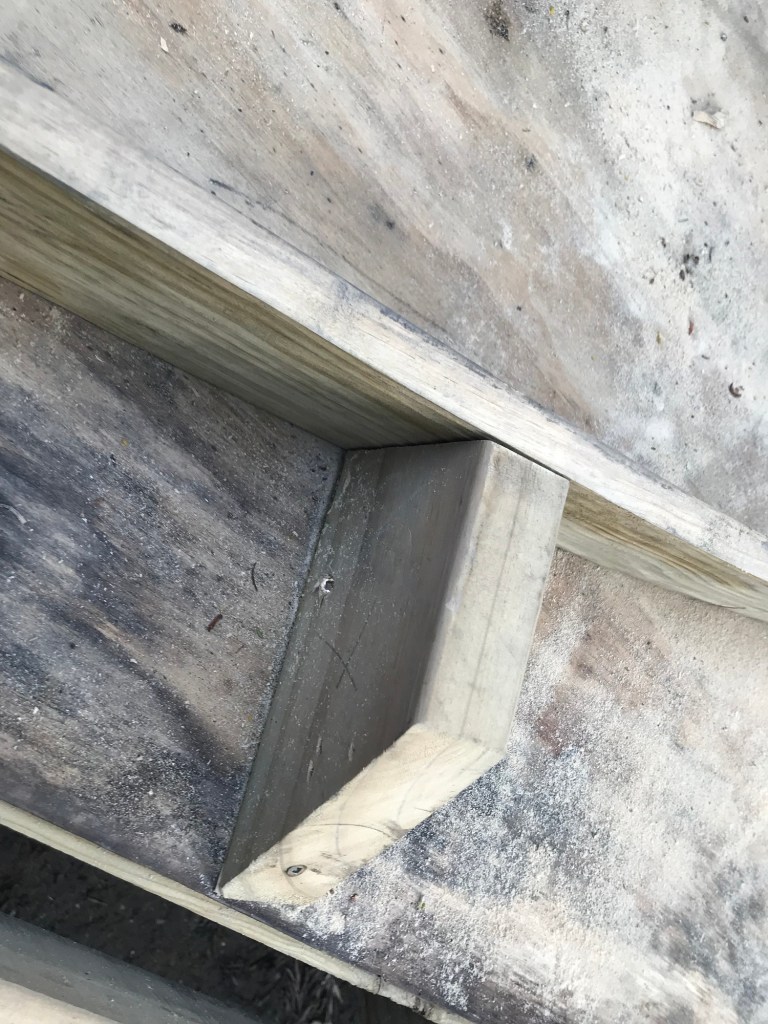
I then remove the arch from the template and add a fixing plate (150×20 by 300mm long) timber screw fixed to the end we just cut, I have found it makes it easier when fixing to the ridge board.
I will add a further post on the finishing off of the shed when I get to it.
Final Words – I have found of the 30 trusses I have had to make for this shed I have had 4 boards as I presented them snap, another 3 crack – but I could repair and use them and about 4 no matter what i did wanted to form a second twist. It wood and will do what it wants – there is one I might replace as it does not sit right. But it looks bloody impressive!


I came across your site on Woodys. The frames and your shed look great. Too late now but from a little experience I would have braced the pair of end frames X ways with wire from the apex to a purlin to give the roof rigidity. Fencing wire would work if tensioned with a hooked fencing tensioner. I am hiring a shed now and locked down. It would have been better value to make my own but thats hindsight. These projects take twice as long as you think if they’re done properly.
LikeLike
Thanks Mike – not too late I am still building shed. Today I have started to add the purlins and yes will install x bracing and the ends will be framed up. Once finished I am estimating that it will cost NZD 2,500 to 3,000 which is the same as the last time I built one.
The trouble I have found is uncovering more work or while I’m here I may as well fix this or that. And then you want to do it properly. I still have 2 years at least to go – the wife has said after 2 years I will be sleeping in it a year after that in the divorce she is taking half the boat and her half she is going to burn!
LikeLike
Thanks for the reply. Only 2yrs on a project like Anzac? Good luck and I’ll be following with interest.
I started with a cockpit extension on a Pelin in January and it’s now a FULL refit.
I paid a deposit in February for a new engine and its still not left the UK. Thats not too big a problem when Ive got 3 months work to do plus a rewire. My plan is to not having to fix anything for 10yrs and that will see me out.
Make your bunk a double. Mike
LikeLike
I am at the putting back in stage, I have done the full strip out, want to keep it simple on the inside – at the end of the day it will be a caravan on water. Good Luke with yours
LikeLike
good to see you back at it…. (no pressure, get it finished!! :P)
LikeLike
When we get out of lockdown you mush come and have a look
LikeLike